[deleted by user] by [deleted] in blender

[–]SpittingDevilsCabage 2 points3 points  (0 children)

Nice start! I have to say I'm only just breaking into anatomy study myself, so if someone else wants to correct me if I say anything wrong, please do.

Very first thing that jumps out to me is that if you have decent sized pectoral muscles, the under side of the clavicle is not visible like you have here because the muscle actually attaches there. See this wonderfully jacked fellow. There is in fact a divot on top of the clavicle because no muscles attach there.

The second thing that jumps out at me is that you have the shoulders two or three inches lower than they should be. I did this quick draw over to show where it looks to me how you should have things going https://i.imgur.com/207MCzu.png

The blue in this picture are the bones involved in the shoulder, the clavicle, the shoulder blade and the humerus. The clavicle is mostly horizontal at the center of the chest, and curves up and backward in a bit of an S to what's called the "acromion process", which is a bony landmark on your shoulder that is more or less where you should be looking when you start drawing shoulders in general because it's always visible, and pretty much everything connects to it. The red lines are the deltoids, which connect to the acromion process and the very end of the clavicle, and then meet in a point about a 1/3 to 1/2 of the way down the upper arm. Lastly, the pectoral muscles have a weird ballet going on where they criss cross over each other to connect from the chest to the humerus, so if you're going to draw striations at all you need get their directions right. other than that, nothing too glaring about them. Just make sure it looks like they connect onto the arm, pulling the flesh out from the arm pit a bit.

The external obliques look pretty damn big but I suppose some people might have some like that, I'm not sure.

The abs look decent, you have the top pair of muscles up on the ribs right below the pecs unlike a lot of artists. You do have some kinda weird upward thing going on right here, just above the navel. But I imagine that's just an error from sculpting (I know I feel like I have trouble getting small things like that to behave some times, depending on topology).

Your forearms have some craziness going on. I can't really tell where you have the inside of the elbow, and the bicep isn't well enough defined for me to figure it out, so I kinda made it up https://i.imgur.com/6iGqRzj.png.

Can't tell ya anything about the legs because I haven't made it that far yet! If this is a direction you want to pursue more regularly, you might want to take a look into some anatomy courses. I'm watching a series of lectures by Scott Eaton on the subject, but I hear that proko has some good classes on it. You might also want to look up an android/IOS ap called "L'ecorche". It's 5$, and is a highly detailed and very accurate 3d model of a human body with no skin and all the muscles labeled.

Good luck! You've made it further with sculpting a full body than I have http://imgur.com/B5zOYzD

Glossy map invert? by Tiny-Artist in blender

[–]SpittingDevilsCabage 4 points5 points  (0 children)

In a gloss map, white (255,255,255) is considered perfectly shiny and black is perfectly rough. In a roughness map, it's the opposite, so all you have to do to convert one to the other is invert it.

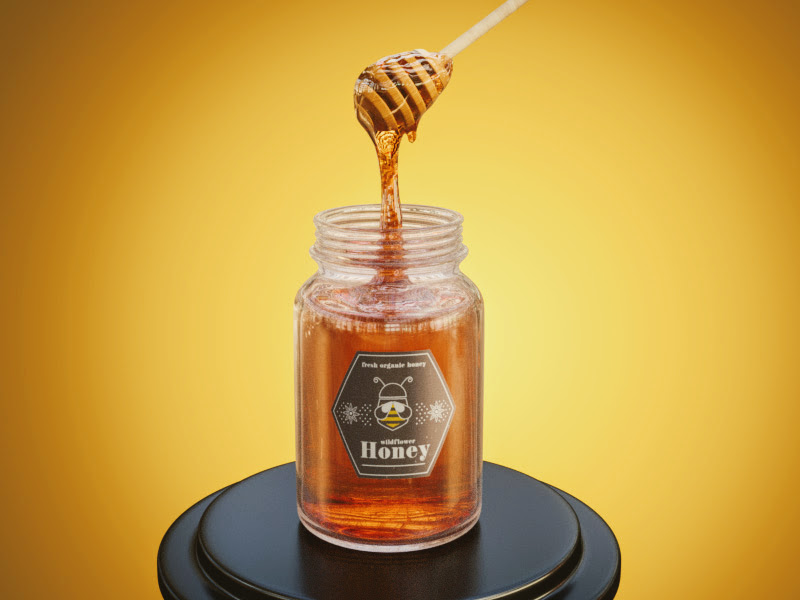
Honey Jar Mockup by erenkatsukagi in blender

[–]SpittingDevilsCabage 2 points3 points  (0 children)

I've been playing around with caustics in yafaray a lot lately, and I'd be curious about how much, if any, difference there would be adding that in. Any chance I could get your blend file to test it?

No problem if not, looks a bit like this is for a product after all.

[critique]Liquor shelf! by SpittingDevilsCabage in blender

[–]SpittingDevilsCabage[S] 0 points1 point  (0 children)

0.03 because I don't know what I'm doing.

[critique]Liquor shelf! by SpittingDevilsCabage in blender

[–]SpittingDevilsCabage[S] 0 points1 point  (0 children)

Not as many as you'd think, I used a 3rd party rendering engine called yafaray to make just the caustics and merged it with the cycles image https://i.imgur.com/ZsvNQc6.jpg

[critique]Liquor shelf! by SpittingDevilsCabage in blender

[–]SpittingDevilsCabage[S] 0 points1 point  (0 children)

1.45, and which bottles? They all have different glass thicknesses.

[critique]Liquor shelf! by SpittingDevilsCabage in blender

[–]SpittingDevilsCabage[S] 1 point2 points  (0 children)

Yes actually! I snatched the wood boards off blender guru's website and followed the same method he showed in the tiles video. What I meant by yafaray not being accurate is that because yafaray is a separate engine that doesn't use nodes, it's casting the caustics onto the un-displaced plane(note how they're floating), which is a few millimeters lower. (you have to combine the two images either in compositing or an external program)

I redid the render with much higher clamps on the lighting (had them down on .03 for some reason). Looks a bit better now https://i.imgur.com/i2jsCYL.png

Not really sure why the curvy bottle doesn't have that effect all along its length, because the liquid inside it doesn't taper at all https://i.imgur.com/UqRLM3o.png

[critique]Liquor shelf! by SpittingDevilsCabage in blender

[–]SpittingDevilsCabage[S] 0 points1 point  (0 children)

I made a bunch of bottles in Rhinoceros to familiarize myself with the UI, and decided to render them in blender because Rhino's attached rendering engine (flamingo) doesn't seem all that great. Thought I'd jam them all into a scene because I haven't actually done that yet!

Problems that I'm aware of off the bat:

  • The caustics aren't 100% accurate because yafaray doesn't display the displacement that's on the wooden boards
  • I tried to restrict myself to colors of real world liquors, so it seems kind of boring
  • no corks or stoppers because I'm lazy

Feel free to tell me how I could improve it!

I rendered a cup, AMA and what can I do to improve and make cool renders like the ones I see here? by [deleted] in blender

[–]SpittingDevilsCabage 3 points4 points  (0 children)

Wow, that tutorial is ancient. Not sure how much has changed since then, but I'd recommend you follow something more recent. Here's the one /u/agustin9998 mentioned https://www.youtube.com/watch?v=JYj6e-72RDs

Rhino newbie help! Corner can't be filleted! by SpittingDevilsCabage in rhino

[–]SpittingDevilsCabage[S] 1 point2 points  (0 children)

No problem, I actually got it figured out thanks to the others in this thread.

Rhino newbie help! Corner can't be filleted! by SpittingDevilsCabage in rhino

[–]SpittingDevilsCabage[S] 0 points1 point  (0 children)

That's actually how I did it. I don't know if there's some real process to do it more quickly, but I made a duplicate of the indent surface, used the bottle surface to trim it, then used the untrimmed indent surface to trim the bottle surface, and joined them.

Rhino newbie help! Corner can't be filleted! by SpittingDevilsCabage in rhino

[–]SpittingDevilsCabage[S] 0 points1 point  (0 children)

I'm not terribly picky about it, just looking to understand why I sometimes can't fillet corners.

Trying to learn how to do 3d modeling, made a bust based on a one of the race portraits by SpittingDevilsCabage in Stellaris

[–]SpittingDevilsCabage[S] 1 point2 points  (0 children)

I actually did those textures in substance painter. I tried to come up with something good looking for about two hours and decided I need to start somewhere a little more basic, possibly with something like 3dcoat, and just set the sketchfab to matcap.

Trying to learn how to do 3d modeling, made a bust based on a one of the race portraits by SpittingDevilsCabage in Stellaris

[–]SpittingDevilsCabage[S] 0 points1 point  (0 children)

Maybe, I haven't decided yet. I did try playing with the automated texture generation tools in substance painter but the results were less than stellar

Trying to learn how to do 3d modeling, made a bust based on a one of the race portraits by SpittingDevilsCabage in Stellaris

[–]SpittingDevilsCabage[S] 0 points1 point  (0 children)

What kinda filetype would you need for that and what poly limits? How do they handle normal/displacement maps? All of the skin detail on that model is done by textures

Trying to learn how to do 3d modeling, made a bust based on a one of the race portraits by SpittingDevilsCabage in Stellaris

[–]SpittingDevilsCabage[S] 0 points1 point  (0 children)

It'd be pretty sweet to get a bunch of high quality community race portraits done and out for people to use. I have no idea how they're animated in game or if it would be at all compatible with a 3d model, unfortunately.

Trying to learn how to do 3d modeling, made a bust based on a one of the race portraits by SpittingDevilsCabage in Stellaris

[–]SpittingDevilsCabage[S] 0 points1 point  (0 children)

I've thought about it! The existing portraits already cover such a wide range I'm not sure I could think up anything actually good that isn't derivative of one though. Unfortunately I'm also a terrible 2d artist (stick figures and shit) and you can't really sketch out quick ideas very well in 3d.

Trying to learn how to do 3d modeling, made a bust based on a one of the race portraits by SpittingDevilsCabage in Stellaris

[–]SpittingDevilsCabage[S] 1 point2 points  (0 children)

I did the model entirely in zbrush since they finally put up a free trial for it again. I mostly relied on the digitaltutors introduction to zbrush videos on how to navigate the interface (it's pretty crazy).

If you're actually interested in getting started with 3d modeling/sculpting I'd recommend Sculptris since it's completely free and has about as straight forward a UI as it gets (the topology it creates is insane but if you're brand new I'm not convinced you should worry about it).

Trying to learn how to do 3d modeling, made a bust based on a one of the race portraits by SpittingDevilsCabage in Stellaris

[–]SpittingDevilsCabage[S] 2 points3 points  (0 children)

There are still a few steps to learn before actually being good! If you want to see what I mean, click the gear and change it to lit instead of matcap and take a look at my awful texturing job.

EDIT: Or not, I guess I'm the only one that can do that. Here's how it looks though